CCTV Installation Basics: Your Guide to Easy Wired Security Camera Setup
When it comes to protecting your property, choosing the best security camera system is just the beginning. Proper installation is just as important as selecting high-quality equipment. Whether you're setting up a professional-grade PoE IP camera system or upgrading to a CCTV HD-over-Coax security solution, understanding the basics of camera placement, cabling, and DVR or NVR setup will ensure your system performs at its full potential. In this guide, we’ll walk you through easy security camera installation tips for both IP and coaxial systems using trusted products from CCTV Security Pros.
Installing a security camera system is a great way to deter criminals and keep your home or business safe. But before you can enjoy the peace of mind that comes with 24/7 surveillance, you need to install the cameras properly. While the installation process may seem intimidating at first, it's actually quite easy once you know the basics.
Here are some basic security camera easy install tips to help you get started:
Step 1: Choose the Right Security Cameras for Your Needs
Choosing the right cameras is the foundation of an effective security system. At CCTV Security Pros, we offer a variety of high-quality cameras tailored for both indoor and outdoor use. Here are the two main types you’ll want to consider:
Dome Cameras
Ideal for indoor use, Dome Cameras feature a compact, vandal-resistant design that blends seamlessly into ceilings or walls. Their discreet appearance makes them perfect for monitoring sensitive indoor spaces like hallways, offices, and lobbies.
Bullet Cameras
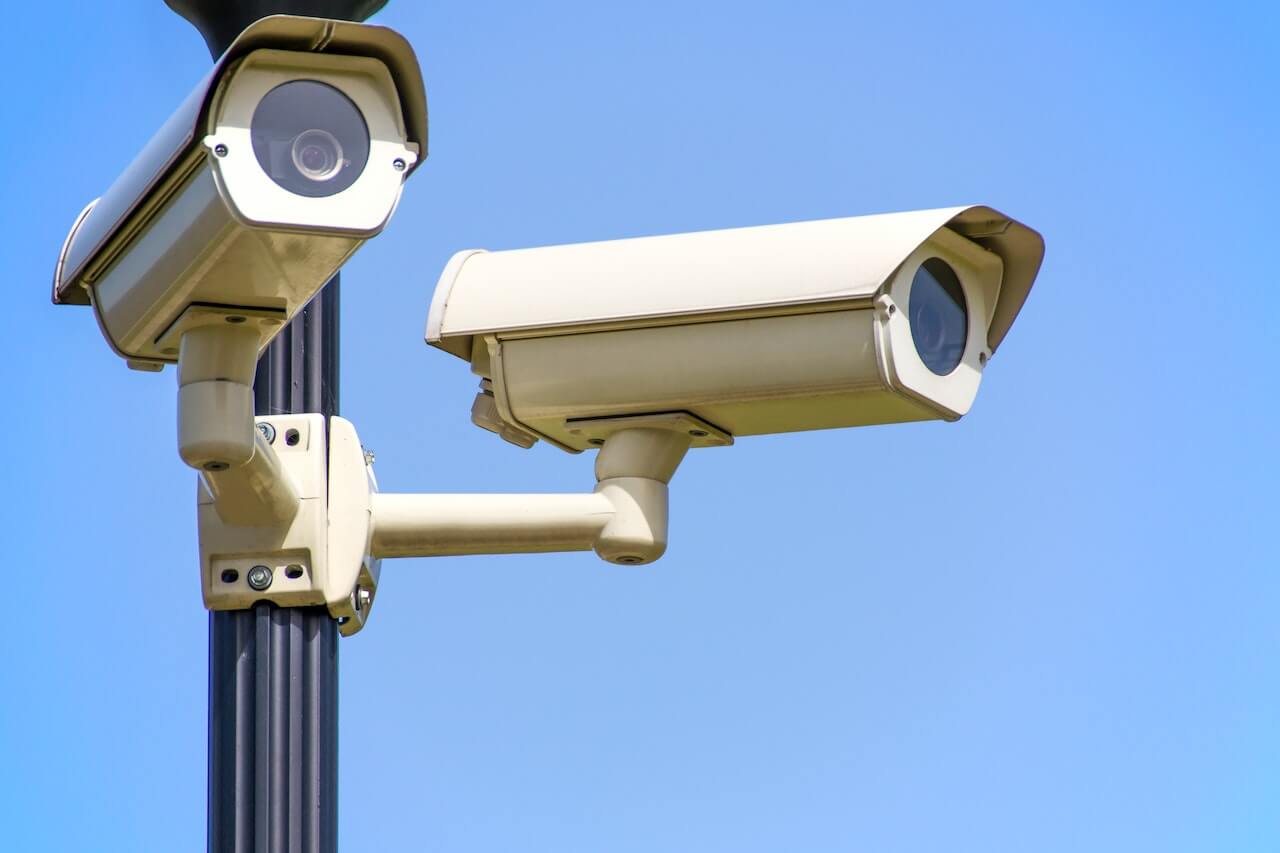
For outdoor security, Bullet Cameras are popular due to their highly visible deterrence factor and rugged, weatherproof housings. Their elongated shape allows for a wider field of view, making them ideal for monitoring large areas like parking lots, building perimeters, and entrances.
Hybrid Options
If you want both indoor and outdoor coverage, many systems allow you to mix dome and bullet cameras. Consider your property’s layout and lighting conditions when deciding.
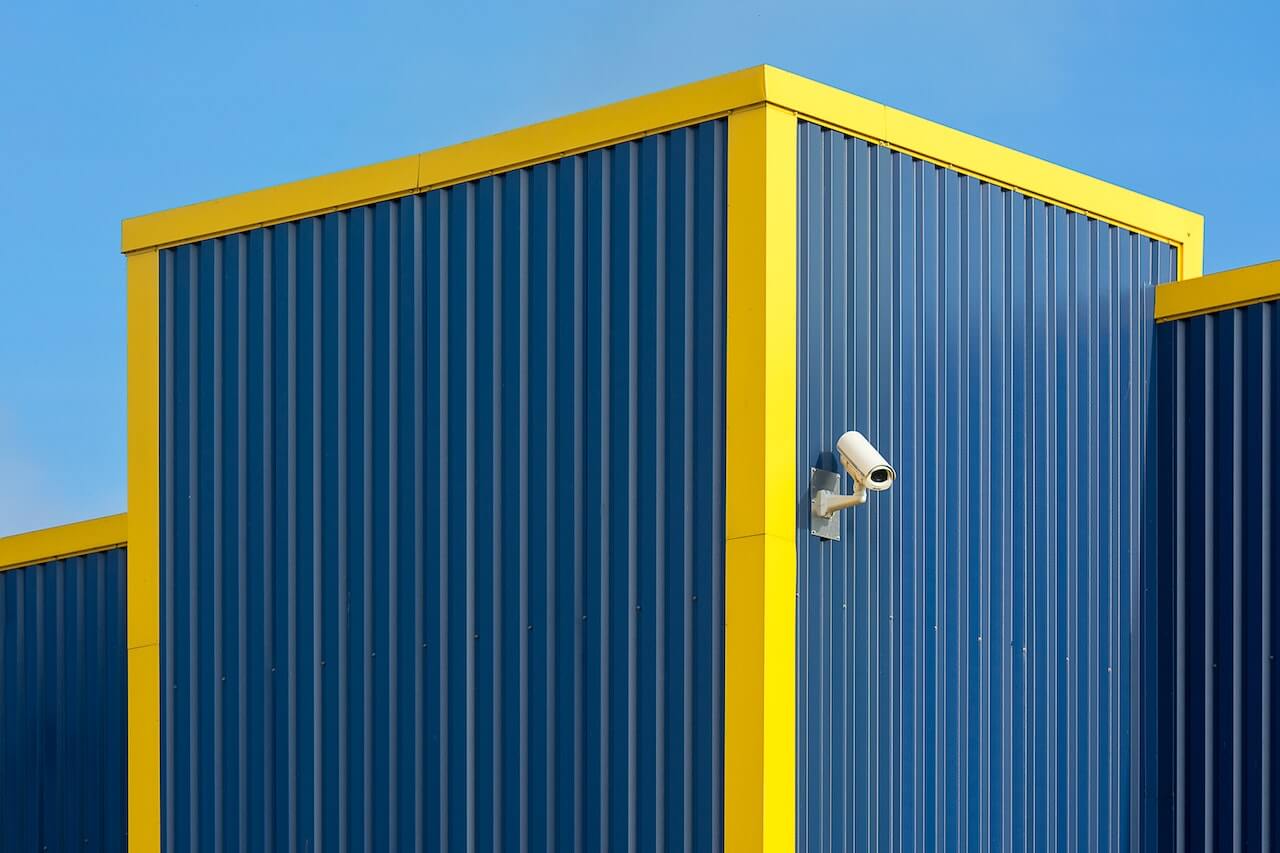
Step 2: Select the Best Location to Position Your Security Cameras
Placing your cameras strategically is crucial to maximizing their effectiveness. Poor placement can result in blind spots or low-quality footage.
- Define Your Objectives: Are you monitoring entry points, parking areas, or sensitive indoor spaces? Knowing your goals will guide where to place cameras.
- Target High-Risk Areas: Focus on entrances, windows, cash registers, driveways, and any secluded areas.
- Field of View: Choose cameras with a wide viewing angle or motorized zoom lenses so you can adjust to cover larger areas without blind spots. Some systems offer PTZ cameras for remote pan-tilt-zoom control.
- Avoid Obstructions: Trees, signs, and architectural features can block camera views, so ensure cameras have clear lines of sight.
- Height & Angle: Mount cameras high enough to avoid vandalism but angled correctly for optimal coverage.
Step 3: Drill Holes and Run Your Security Camera Cables
Since we’re focusing on a wired IP security camera setup, cabling is essential.
- Use CAT5e or CAT6 Ethernet cables that carry both video and power through Power over Ethernet (PoE) technology, simplifying installation by reducing the number of cables required.
- Keep cable runs within 325 feet (100 meters) per run to maintain signal integrity. For longer distances, consider network switches or PoE extenders.
- Drill small, discreet holes through walls or ceilings for cable routing. Use cable clips or conduit to protect and secure cables.
- If you prefer, hire a professional electrician or handyman for cable routing — this is especially recommended for complex or commercial installations.
For all your cabling needs, check out our Network Video Recorders and Accessories, which simplify power and data management.
Step 4: Securely Mount Your Security Cameras
- Use security camera mounting brackets designed for your camera type. For dome cameras, ceiling mounts work best; bullet cameras typically use wall mounts.
- Choose tamper-resistant brackets where possible to protect against theft or vandalism.
- Ensure mounts are stable and fastened into solid surfaces like metal decking, concrete, or wood framing.
- Position cameras so lenses are free from glare and obstructions, and consider using sun shields or weatherproof housings for outdoor cameras.
Step 5: Connect Your Cameras to the Network Video Recorder (NVR)
- Connect all Ethernet cables to your 8-channel or 16-channel NVR.
- Power on the NVR and follow the setup wizard.
- Download the manufacturer’s PC or mobile app to enable remote viewing, playback, and system management.
- Configure user accounts, recording schedules, and motion detection zones based on your monitoring needs.
- Install additional storage drives if needed for extended footage retention.
Our Network Video Recorders (NVRs) come with user-friendly interfaces and robust support.
Step 6: Test Your System and Enjoy Reliable Surveillance
After installation, test each camera feed to ensure clear images and full coverage. Adjust angles or camera positions as necessary.
Wired IP cameras provide a reliable and consistent surveillance solution with superior video quality and minimal interference compared to wireless systems. Plus, they support features like 4K resolution, night vision, and motion alerts. And the best part is that they are super easy to install.
How to Install an HD CCTV Security System with BNC Connections
While IP systems are popular for new installations, coaxial security systems remain a reliable and cost-effective solution—especially for upgrading existing analog setups. At CCTV Security Pros, our HD Over Coax CCTV Systems deliver up to 4K resolution using traditional BNC cables, making them ideal for both home and business users who want proven reliability without the need for internet connectivity.
Step 1: Choose the Right HD Over Coax System
Start by selecting the coaxial camera system that fits your coverage needs. We offer complete systems pre-matched with cameras, a DVR, cables, and accessories. Options include:
-
Dome Cameras: Ideal for indoor use, our vandal-resistant HD dome cameras offer wide-angle views and discreet installation.
-
Bullet Cameras: Designed for outdoor use, HD bullet cameras feature weatherproof housings and excellent range for monitoring parking lots, perimeters, and driveways.
-
Hybrid Setups: Many systems allow you to mix dome and bullet cameras for flexible indoor/outdoor protection.
Explore our HD Coax Camera Systems to choose the best fit for your space.
Step 2: Select the Best Location to Position Your Security Cameras
Camera placement is just as critical as camera quality. Proper positioning ensures optimal coverage and image clarity.
-
Focus on High-Risk Areas: Entrances, loading zones, cash registers, and secluded corners should all be monitored.
-
Avoid Obstructions: Keep lines of sight free from trees, awnings, or architectural barriers.
-
Mounting Height and Angle: Position cameras high enough to avoid tampering while maintaining clear visibility of target areas.
-
Field of View: Choose lenses with appropriate viewing angles to avoid blind spots. Many HD Coax cameras offer wide-angle or zoom capabilities.
For professional-grade coverage, check out our Camera Mount Accessories.
Step 3: Run RG59 Coaxial Cable with BNC and Power Connections
HD Over Coax cameras use Siamese cable (RG59 + 18/2 power) to carry both video and power. Follow these steps:
-
Drill Routing Holes: Use a drill to create holes for routing cables through walls or ceilings.
-
Use Pre-Made or Custom Cables: Choose pre-terminated Siamese cables for convenience, or custom-run your cable lengths and terminate ends with BNC connectors.
-
Connect the Cables:
-
Attach the BNC connector to the DVR's video input.
-
Connect the power barrel plug from the Siamese cable to the camera and a power supply box or adapter.
-
View our full selection of Cables & Accessories to find everything you need.
Step 4: Securely Mount Your Cameras
Mounting your HD Coax cameras properly ensures long-term performance and stability.
-
Dome Cameras: Mount to ceilings or walls in hallways, entryways, or lobbies.
-
Bullet Cameras: Mount to exterior walls or under eaves with weatherproof protection.
-
Use Mounting Brackets: Choose durable brackets designed for each camera model. Secure to solid surfaces using screws and anchors.
-
Adjust and Lock the View: Before fully tightening the camera, adjust angles for best field of view.
Check out our Mounting Hardware for tamper-proof options.
Step 5: Connect and Power the DVR
Once your cameras are installed:
-
Connect the DVR to a monitor or TV using HDMI or VGA.
-
Power the DVR via a surge protector.
-
Power the Cameras using a multi-camera adapter or power distribution box included with your system.
Need a reliable recorder? Browse our Digital Video Recorders (DVRs) for advanced options with up to 32 channels and 4K support.
Step 6: Configure the System and Enable Remote Viewing
With your cameras and DVR powered up:
-
Use the mouse to navigate the DVR’s on-screen setup wizard.
-
Configure Settings: Set the date/time, recording preferences, motion zones, and resolution.
-
Enable Remote Access: Connect the DVR to your network and install the free mobile or desktop app for remote live viewing, playback, and alerts.
Our USA-based support team is available to walk you through the setup if needed.
Step 7: Test Your Cameras and Fine-Tune the System
Once configuration is complete, it’s time to verify performance.
-
Check Each Feed: Review live video from all cameras to ensure clear visuals and correct angles.
-
Adjust for Lighting: Test night vision performance in low light or dark areas using the built-in IR LEDs.
-
Optimize Settings: Make final tweaks to motion sensitivity, recording schedules, and privacy masks.
Why Choose CCTV Security Pros for Your Security Camera Installation?
- Top-Quality Products: From vandal dome cameras to PoE NVR systems, our inventory includes only industry-trusted brands.
- Competitive Pricing: Get the best value without compromising on performance.
- USA-Based Support: We provide lifetime customer support to help you every step of the way.
- Comprehensive Accessories: Power supplies, cables, mounts, and more — everything you need in one place.
- Easy DIY Setup: Our plug-and-play wired systems are designed for straightforward installation, saving you money on professional installation fees.
Explore our full range of Security Camera Systems and find the perfect fit for your home or business.
Need help? Call our experts at 888-653-2288 to get personalized advice today.