
How to Wire a Security Camera System
Jul 9, 2024
How to Wire a Security Camera System
Correct security camera wiring is the foundation of a dependable surveillance system. The cable must deliver a stable video connection, the correct power and enough network capacity for every camera while remaining protected from moisture, physical damage and interference. A carefully wired system produces more reliable recording, easier troubleshooting and a cleaner professional installation.
This guide explains how to wire both modern IP/PoE camera systems and HD-over-coax CCTV systems, including camera-to-recorder connections, cable selection, indoor and outdoor routing, NVR and DVR setup, remote viewing and the mistakes to avoid. If you are still selecting equipment, start with our professional security camera systems or compare individual professional security cameras.
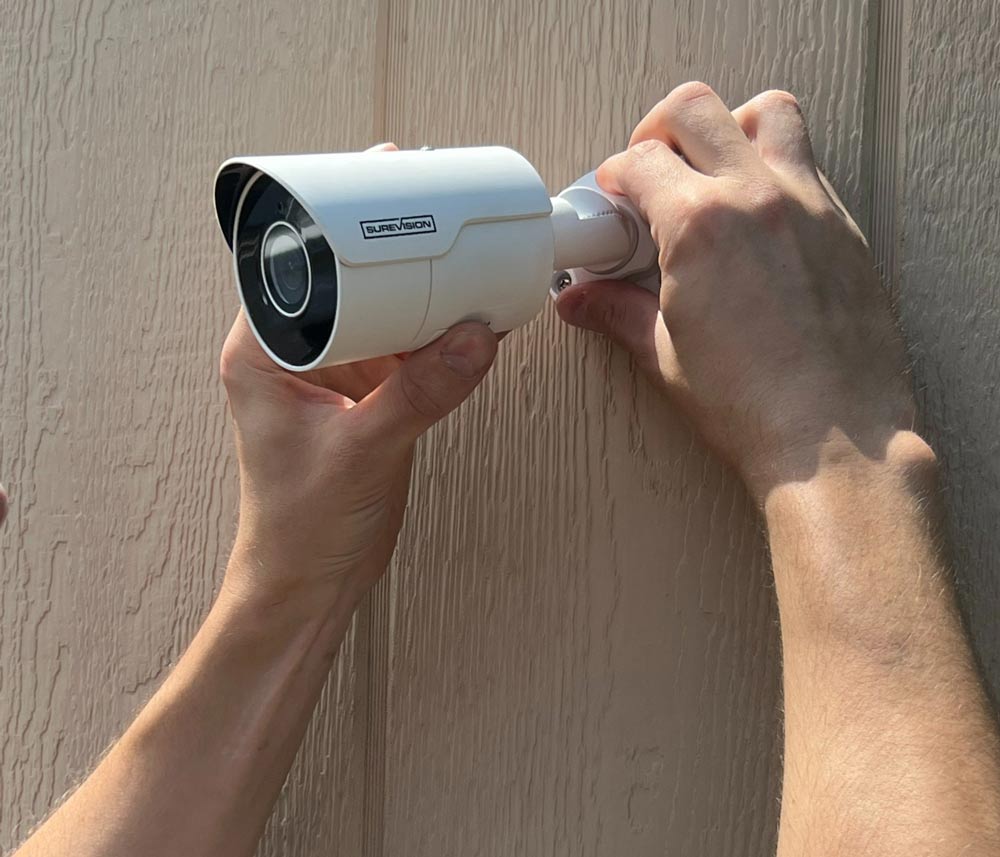
Security Camera Wiring at a Glance
The correct wiring method depends on the camera technology:
- IP/PoE security camera: Run one properly terminated CAT5e or CAT6 Ethernet cable from each camera to a PoE NVR or compatible PoE network switch. The cable can carry video, data and supported power.
- HD-over-coax CCTV camera: Run RG59 Siamese cable or a compatible premade video/power cable from each camera to the DVR and camera power supply. The coax conductor carries video and the paired conductors carry power.
Plan Your Security Camera Wiring Before Installation
Good installation begins before the first hole is drilled. Walk the property and decide what each camera must accomplish: detect activity, observe movement, recognize a familiar person or capture identification-level detail at a controlled location. Camera placement, lens choice and target distance determine the useful detail in the recording; wiring simply connects that correctly designed view to the recording system.
Choose a secure, dry and ventilated location for the NVR or DVR, monitor, network hardware and power equipment. The recorder should be accessible to authorized users but not exposed where an intruder could easily reach it. Measure the actual route from this central point to every camera. Follow the walls, ceiling spaces, conduit and vertical drops rather than measuring in a straight line, then leave reasonable service slack at both ends.

IP/PoE vs. HD-over-Coax Security Camera Wiring
The two leading wired surveillance architectures use different cameras, recorders and cable connections. For most new installations, an IP camera system with PoE offers the strongest long-term platform for image quality, analytics, flexible networking and expansion. HD-over-coax remains a valuable professional option when a property already has usable coax cabling or when a straightforward DVR retrofit is preferred.
| Wiring Factor | IP / PoE Camera System | HD-over-Coax CCTV System |
|---|---|---|
| Recorder | Network video recorder (NVR) | Digital video recorder (DVR) |
| Typical Camera Cable | CAT5e or CAT6 Ethernet | RG59 Siamese coax with paired power conductors |
| Camera Connection | RJ45 Ethernet connection | BNC video plus compatible DC power |
| Power | Supported PoE from the NVR or PoE switch | Separate camera power supply carried beside the coax video conductor |
| Best Fit | New systems, advanced features and expansion | Upgrading a property with compatible existing coax |
Compare complete IP and PoE security camera systems with HD-over-coax CCTV camera systems. Buyers building a custom solution can also browse SureVision NVR recorders and HD CCTV DVR recorders.
How to Wire an IP PoE Security Camera System
A PoE camera is an IP network device. With compatible equipment, one Ethernet cable carries both camera data and electrical power between the camera and a PoE NVR or network switch. This one-cable design reduces separate power wiring and makes PoE the preferred approach for many professional surveillance installations.
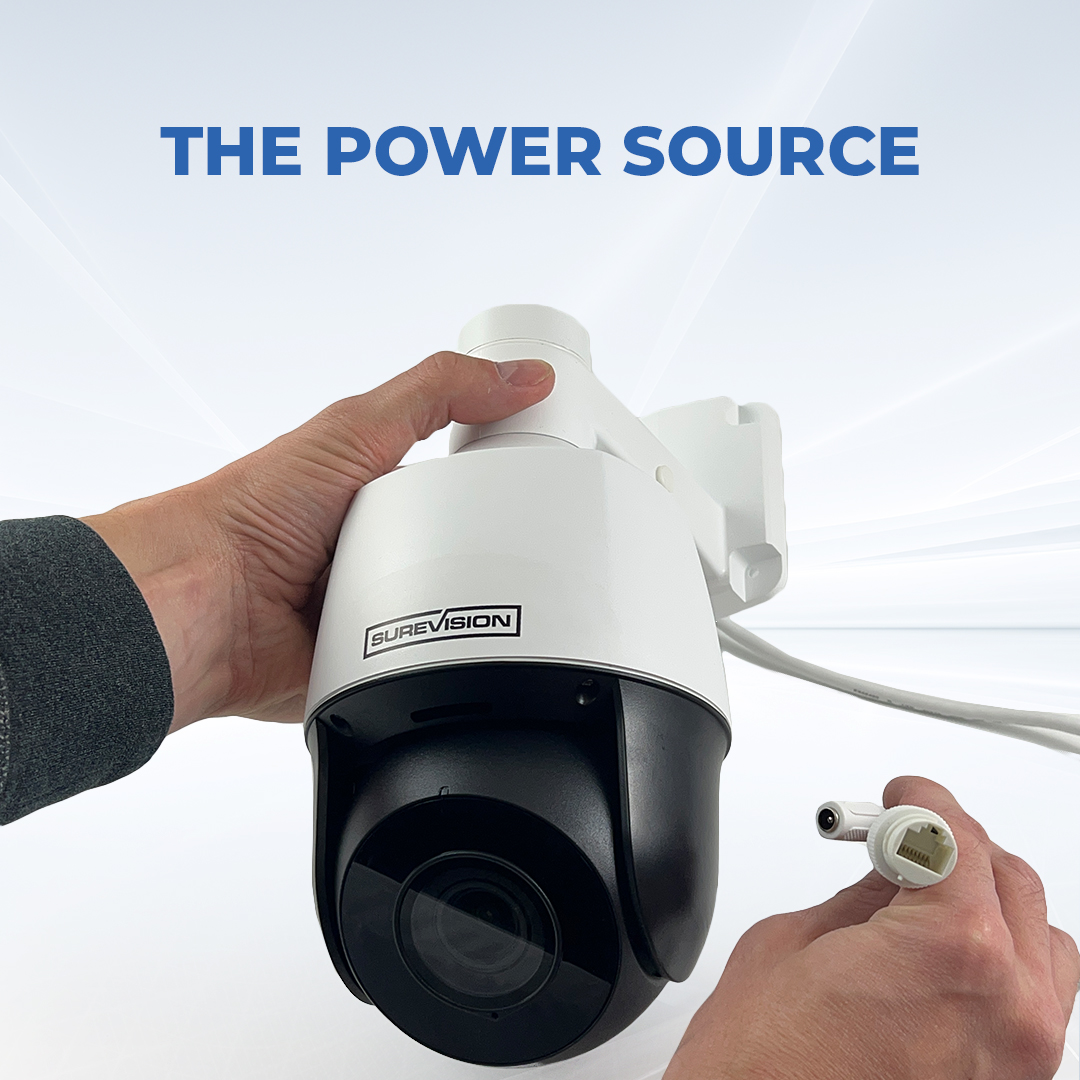
Tools and Materials for PoE Camera Wiring
- Outdoor-, riser- or plenum-rated CAT5e/CAT6 as required by the cable route
- Premade Ethernet patch cables or RJ45 connectors and a compatible crimping tool
- Ethernet cable tester
- Fish tape or pull rods, drill and suitable bits
- Cable labels, hook-and-loop ties and approved supports
- Weatherproof junction boxes, glands or conduit for exposed connections
- Compatible PoE NVR, PoE switch or designed power/network equipment
Step 1: Bench-Test the System
Place the NVR, monitor and cameras together. Install the surveillance hard drive if it is not already fitted, connect the NVR to a display and mouse, and power the recorder. Test at least one camera with a short known-good cable. Create a secure administrator password, verify live video, check the date and time, confirm the hard drive status and test playback. Repeat the connection test for every camera before mounting it.
Step 2: Run One Ethernet Cable to Each Camera
Route a dedicated CAT5e or CAT6 cable from the camera location to the NVR or the planned PoE switch. Avoid sharp bends, crushing, tight staples and excessive pulling force. Keep data cable appropriately separated from electrical power conductors and interference sources according to code and manufacturer guidance. Support the cable rather than leaving long, loose spans above ceilings.
Label both ends with the camera name or number before pulling the next cable. Consistent labels such as Front Door, Loading Dock or Camera 07 make setup, service and replacement much faster than tracing an unidentified cable later.
Step 3: Terminate and Test the Cable
For field-terminated Ethernet, use connectors approved for the cable type and keep the twisted pairs intact as close to the termination as possible. Follow one wiring standard consistently at both ends—commonly T568B—and verify the connector order before crimping. Mixing T568A on one end with T568B on the other creates a crossover cable and is not the normal choice for camera runs.
Use an Ethernet tester to verify continuity and pair order before connecting valuable equipment. A basic pass/fail tester catches opens, shorts and crossed conductors; professional certification testing provides deeper performance validation for demanding commercial networks.
Step 4: Connect the Camera and PoE Source
Connect the camera end to the camera's Ethernet port and weatherproof the connection using the supplied gland or an appropriate junction box. At the recorder location, connect the other end to a compatible PoE camera port on the NVR or to the planned PoE switch. A switch uplink then carries camera traffic toward the NVR or surveillance network.
Standard Ethernet design commonly uses a maximum 100-meter (328-foot) channel. Some compatible SureVision NVR and camera combinations support extended PoE distances under specified cable, bandwidth and configuration conditions. Do not assume that every camera, NVR or switch supports the same range. For long runs, use an engineered solution such as a compatible extender, an intermediate PoE switch, point-to-point networking or fiber with proper media conversion and local power.
Step 5: Verify PoE Power, Bandwidth and Recording
A port count alone does not confirm that a switch can power every camera. Compare the camera's required PoE class and maximum wattage with the per-port limit and the total PoE budget. PTZ cameras, heaters, speakers and white lights can require more power than a standard fixed camera. Also confirm that switch uplinks and the NVR's incoming bandwidth can carry all intended camera streams.
After all cameras appear on the NVR, confirm each camera is recording at the intended resolution, frame rate and schedule. Review live and recorded video during daylight and darkness. Test motion or human/vehicle detection where available, and perform a sample video export. Our Security Camera Technical Support & Setup Center provides current setup guides, visual walkthroughs, manuals and troubleshooting resources.
Running Security Camera Cable Through Walls and Ceilings
Before drilling, check both sides of the surface and locate hidden plumbing, electrical wiring, structural members and other hazards. Use fish tape or pull rods to guide cable through accessible cavities. Protect cable where it passes through sharp-edged metal or masonry, and seal penetrations with a product appropriate for the wall assembly. Fire-rated walls and floors require approved firestopping methods—not ordinary caulk.
Do not run ordinary indoor patch cable through outdoor exposure, wet areas or environmental air spaces. In drop ceilings used for air handling, code may require plenum-rated cable. Vertical building runs may require riser-rated or other approved cable. Keep bends gradual and use cable supports designed for low-voltage data wiring. Tight plastic ties can deform the cable and degrade Ethernet performance; hook-and-loop fasteners are easier to service and less likely to crush the pairs.

How to Wire Outdoor Security Cameras
Outdoor camera wiring needs protection from water, sunlight, temperature changes, impact, animals and tampering. Use cable and fittings rated for the environment. Whenever possible, bring the cable through the mounting surface directly behind the camera or into a compatible weatherproof junction box so the connector is not exposed.
- Create a drip loop where needed so water travels away from the entry point.
- Keep RJ45, BNC and power connections inside a suitable weatherproof enclosure.
- Use UV-rated outdoor cable or conduit where sunlight exposure is unavoidable.
- Seal building penetrations with compatible exterior-grade material without trapping water inside the cable path.
- Plan appropriate grounding and surge protection, especially for exposed buildings, poles and long exterior runs.
- Do not mount connectors where roof runoff, sprinklers or standing water can reach them.
Can Security Camera Cable Be Buried?
Cable can be routed underground only when the cable, conduit, fittings, grounding method and burial depth are suitable for the application and local code. There is no single correct burial depth for every property. Requirements can change according to location, voltage, conduit type, vehicle traffic and other utilities. Contact the local utility-marking service before digging and verify requirements with the authority having jurisdiction.
Use outdoor wet-location cable even inside underground conduit because conduit can collect condensation. Keep splices and connectors out of underground pathways whenever possible. For runs between buildings, professionally designed fiber is often preferred because it avoids a conductive data path between structures and supports long distance; powering and grounding still require proper design.
How to Wire an HD-over-Coax CCTV Camera System
An HD-over-coax camera sends video through coaxial cable to a compatible DVR. RG59 Siamese cable places the coax video conductor and two power conductors in one jacket, making it easier to route video and camera power together. Premade video/power cables provide factory-installed BNC and DC-style connections, while bulk RG59 requires compatible terminations.
Tools and Materials for Coax Camera Wiring
- RG59 Siamese cable or compatible premade video/power cable
- BNC connectors approved for the cable type
- Coax stripper and the correct crimping or compression tool
- Compatible DC power connectors and camera power supply
- Cable tester or known-good test equipment
- Labels, supports and weatherproof enclosures
Step 1: Confirm Camera, Signal and DVR Compatibility
HD-over-coax products can use formats such as CVI, TVI, AHD or analog. Confirm that the DVR input supports the camera's signal format and resolution. Also verify the camera voltage, current requirement and power-supply polarity. A BNC connector may physically fit even when the camera format or power is incompatible.
Step 2: Run RG59 Siamese Cable
Route one Siamese cable from each camera to the DVR and power-supply location. Follow the same professional practices used for Ethernet: measure the true path, leave service slack, avoid sharp bends, label both ends, support the cable and protect outdoor connections. Do not use low-quality cable or connectors that are not designed for the intended video bandwidth and environment.
Step 3: Terminate Video and Power
Install the correct BNC connector on the coax video conductor without allowing braid strands to contact the center conductor. Terminate the positive and negative power conductors with approved connections, maintaining correct polarity. At the camera, connect the BNC video and matching DC power. At the equipment end, connect video to the assigned DVR channel and power to the compatible distribution supply.
Step 4: Power On and Test the Recording
Power the system only after checking every termination. Confirm a stable picture on each DVR channel, then test daylight and nighttime images, recording, playback and export. Rolling lines, intermittent video or camera resets can indicate poor termination, interference, voltage drop or inadequate power—not necessarily a defective camera.
Connecting the Recorder, Monitor and Network
Camera wiring is only one part of the complete system. Connect the NVR or DVR to a compatible monitor or television using HDMI or another supported display output, then attach the supplied mouse. The recorder can operate and record locally without being connected to the internet. A network connection is needed for features such as remote viewing, time synchronization, supported updates and some notifications.
Connect the recorder's LAN port—not a PoE camera port—to the router or network switch using Ethernet. Follow the current setup guide for the recorder model, because applications and interfaces can differ between SureVision and legacy product lines. Set a unique administrator password and create limited user accounts where supported instead of sharing the administrator login.
Set Up Remote Viewing After Wiring Is Complete
Remote viewing allows authorized users to see live cameras and recorded video from compatible phones, tablets or computers. It does not make the cameras wireless; the wired camera connections remain in place while the recorder communicates through the property's network. CCTV Security Pros systems support remote viewing without a required monthly cloud-storage fee.
Before adding the mobile or desktop application, confirm that local live view, date and time, recording and playback are working correctly. Connect the recorder to the network and use the instructions for the exact recorder model. Protect remote access with unique credentials, supported firmware and carefully managed user permissions.
Common Security Camera Wiring Mistakes
DIY Wiring or Professional Cable Installation?
Many homeowners and small businesses can connect a plug-and-play camera system after the cable routes are already prepared. Professional help is often the better choice when the project involves high ladders, difficult wall cavities, fire-rated penetrations, underground pathways, multiple buildings, surge and grounding design, regulated spaces or a large network with managed PoE switches.
Low-voltage does not mean risk-free. De-energize equipment before making terminations, use appropriate personal protective equipment and do not drill or cut until hidden hazards are checked. Work involving mains electrical power should be handled by qualified personnel. CCTV Security Pros sells professional equipment and provides lifetime U.S.-based product support; it does not provide installation services.
Security Camera Wiring Checklist
- Map every camera's purpose, position, route and cable length.
- Confirm camera, recorder, signal format, power and resolution compatibility.
- Bench-test every camera, recorder channel, hard drive and display before mounting.
- Use code-compliant cable rated for indoor, outdoor, riser, plenum or burial conditions as applicable.
- Label and test every cable before connecting the final equipment.
- Protect outdoor connections inside compatible weatherproof enclosures.
- Verify PoE budget, bandwidth, cable distance and storage for IP systems.
- Verify video format, BNC termination, polarity and voltage for coax systems.
- Test live view, recording, playback, export, night performance and remote access.
- Document passwords securely, camera names, cable routes, switch ports and recorder channels.
Security Camera Wiring FAQs
Professional Security Camera Resources
Need Help Planning a Wired Security Camera System?
CCTV Security Pros has served more than 75,000 customers since 2008. We can help you select compatible cameras, recorder channels, storage, PoE equipment and wiring for a customized professional system—with local recording, no required monthly fees, a 3-year warranty and lifetime U.S.-based support.